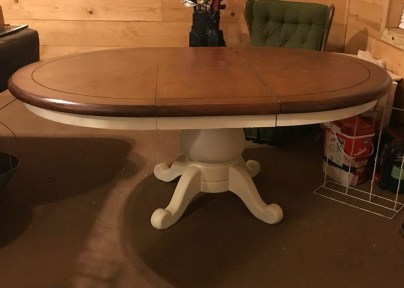
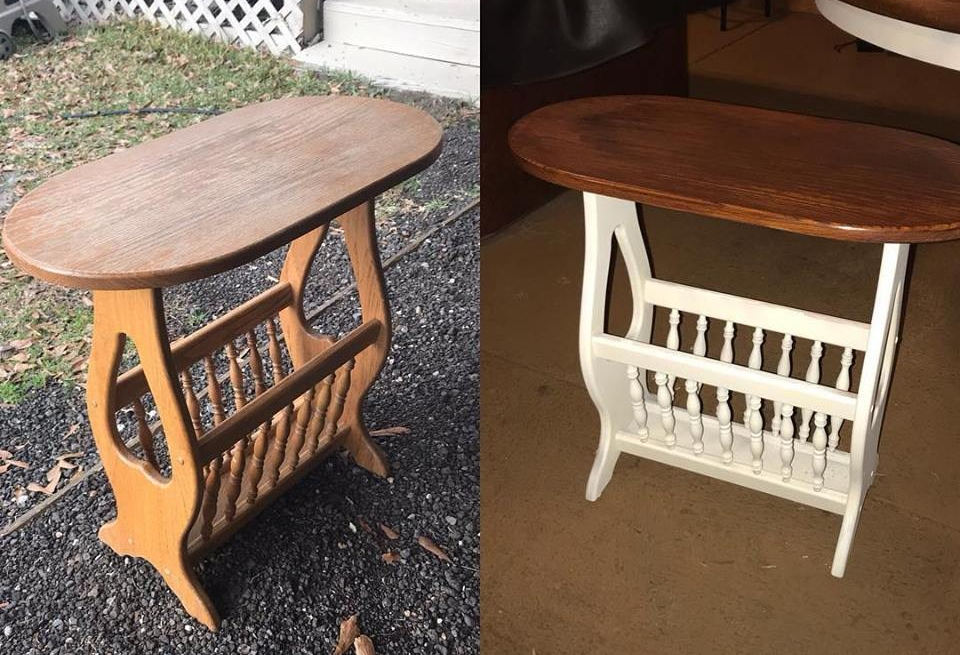
Do you have a old piece of furniture laying around that you don’t know what to do with? Well before you throw it out, paint it! Who knows you may fall in love with the new look and decide to keep it.

First, here are some tools you will need:
- Palm sander
- Kilz primer
- Stain (I prefer gel stain)
- Finishing Wax
- Tack cloths
- Gloves
Step 1: Prep your furniture
Start by removing any drawers or cabinet doors and begin sanding. After you completely sanded it once, wipe the furniture down and repeat sanding process. You will want to make sure to feel the furniture to make sure there are no rough spots. This will ensure that your piece of furniture has a smooth finish.
Step 2: Wipe down furniture
Once your done sanding, take one of the tack cloths and wipe down the piece of furniture. Make sure you go over the entire piece to ensure a clean surface for painting/staining.
Step 3: Apply primer
If you are planning to paint any part of the furniture, I recommend applying a primer. I love the Kilz Odorless spray paint. It dries fast and doesn’t put off an awful odor.
Step 4: Apply Stain/Paint
Once your primer has dried , you’re ready to start applying paint and stain. Stir the gel stain before applying to assure there are no clumps. Use a tack cloth to evenly apply stain and have a cotton cloth (Old t-shirts work great) to wipe of extra stain. After the first coat has dried you will have to decide if you need to apply a second or third coat.
Step 5: Ready to seal
Once your last coat of paint/stain is totally dry, you’re ready to seal the deal! The product you use to seal your piece depends on the look you’re going for. Personally, I like Miniwax Finishing Wax. But you can also use polyurethane in a gloss or satin finish. I do not recommend it on lighter colors because it tends to yellow.
Step 6: Enjoy your new piece!